Our first tutorial! How exciting.
Lately, I've been painting a lot of roses for a client's upcoming wedding. After some watercolor trial-and-error I landed on a pretty easy way to paint these tricky flowers and I thought I would share them with you. I enjoyed painting these so much that I made a rose stationery set!
First, a brief introduction to the tools of the trade. One of the reasons I love watercolors is how easy it is to get started. You only need a few brushes, a set of paints, and some paper. The first set of paints I bought was an on-sale travel set. That set, along with 3 brushes and a small watercolor paper block cost me $40. That's it! You can, of course, upgrade your materials and end up spending loads of money but you certainly don't need to spend your entire paycheck to start creating beautiful pieces. Here's what I use:
- Brushes in a variety of sizes (I use a mix of Winsor & Newton Cotman brushes and Robert Simmons Sapphire brushes)
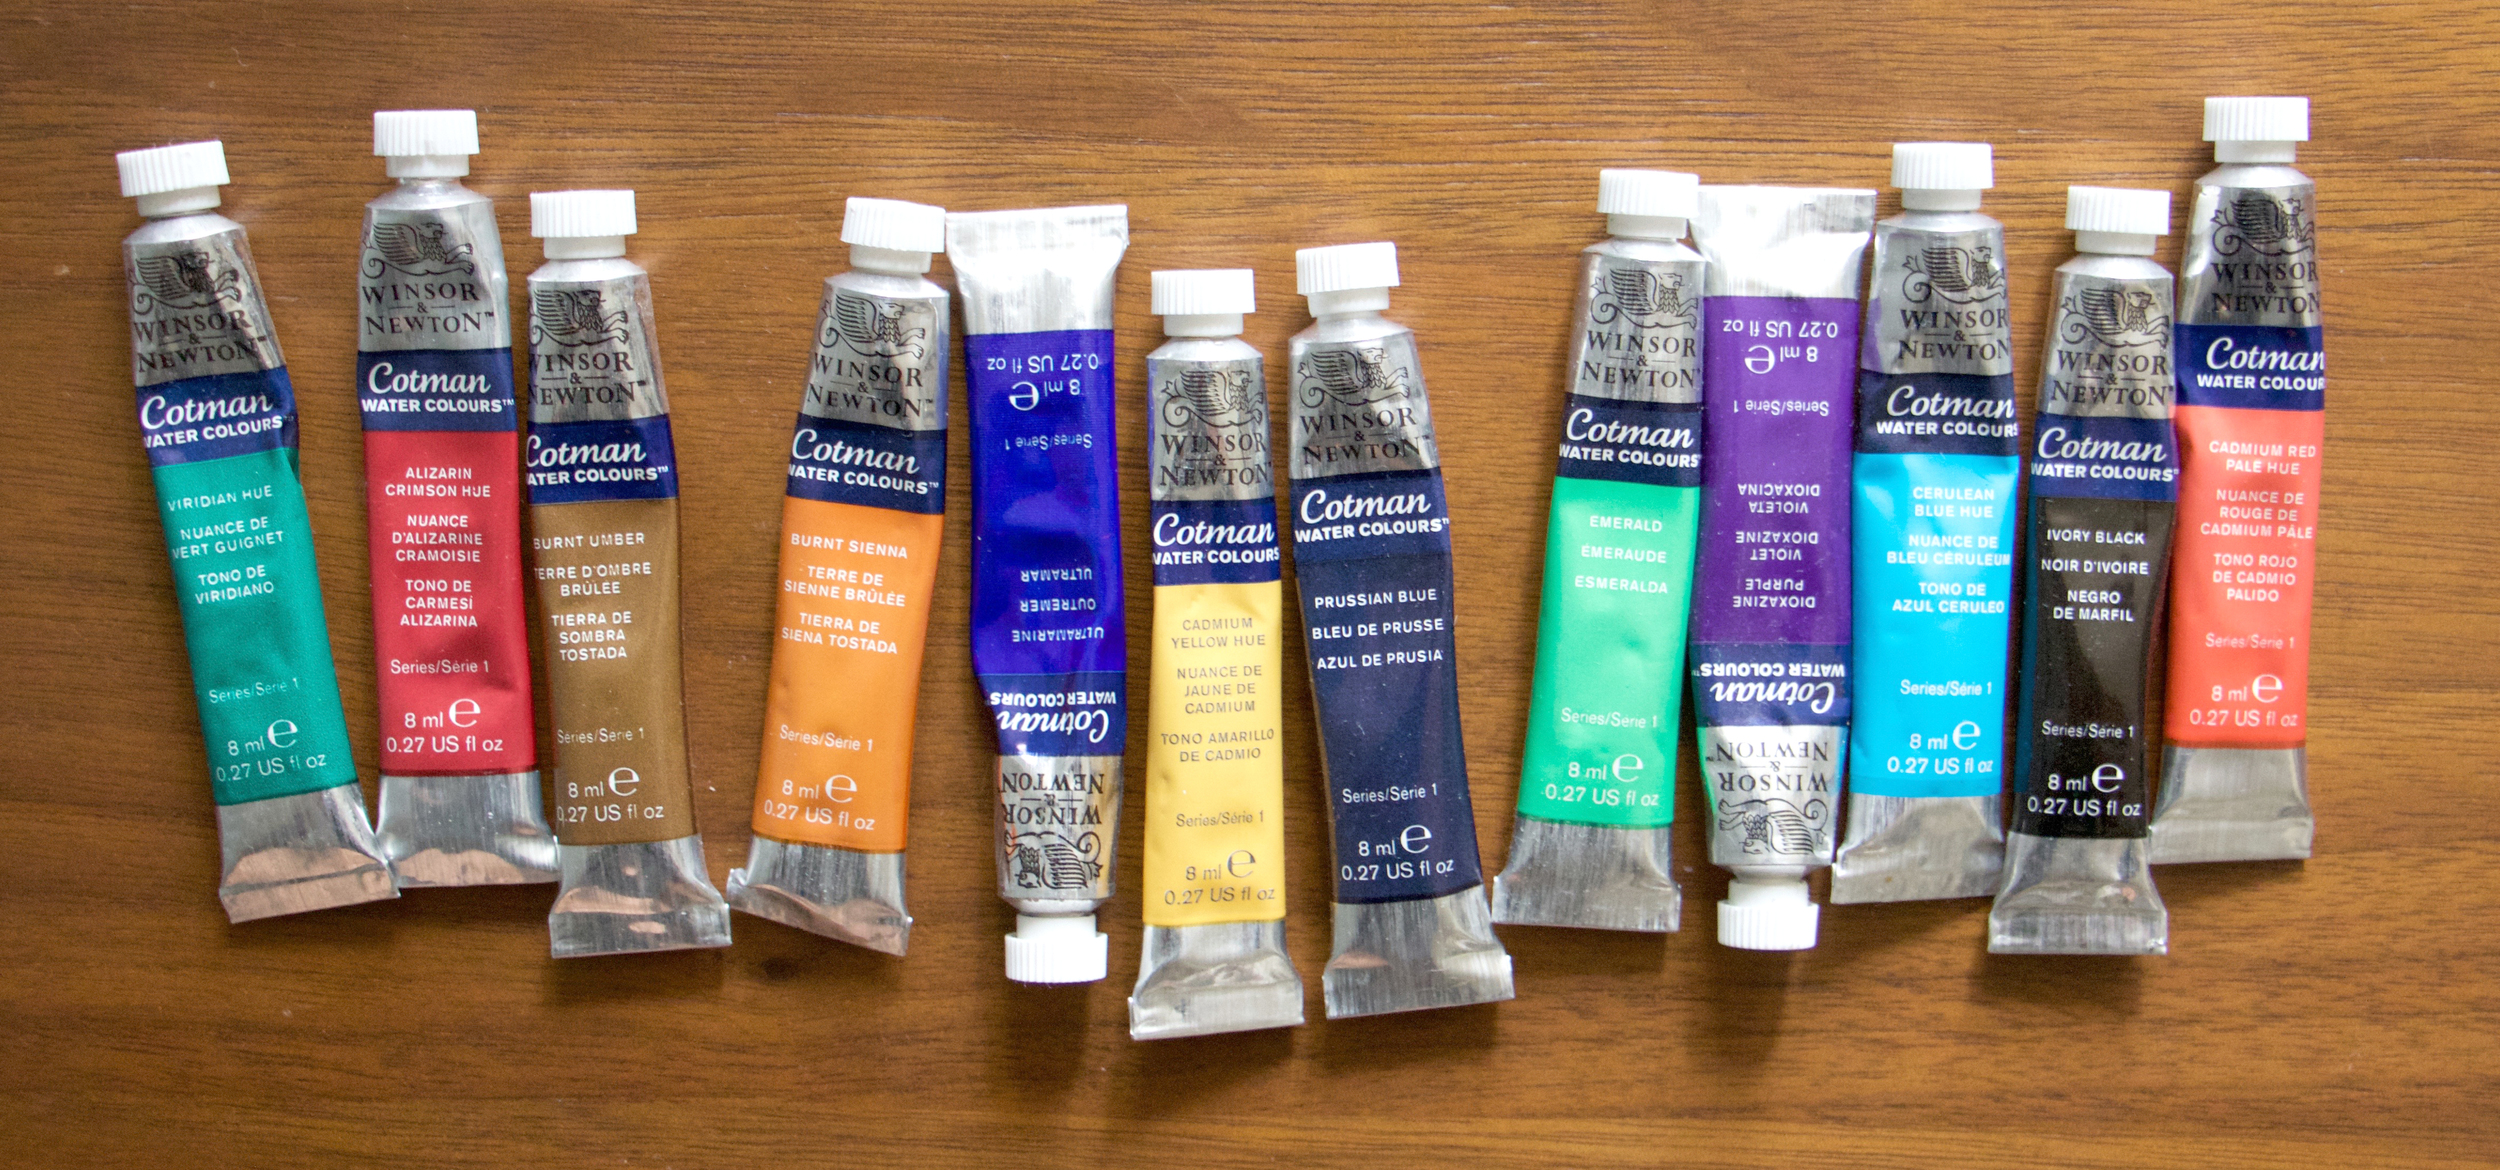
- Watercolor paints (I really like Winsor & Newton Cotman tubes)
- Paper (I'm using an Arches cold pressed watercolor block for this post)
- Cup of water
You can learn more about the supplies I use here.
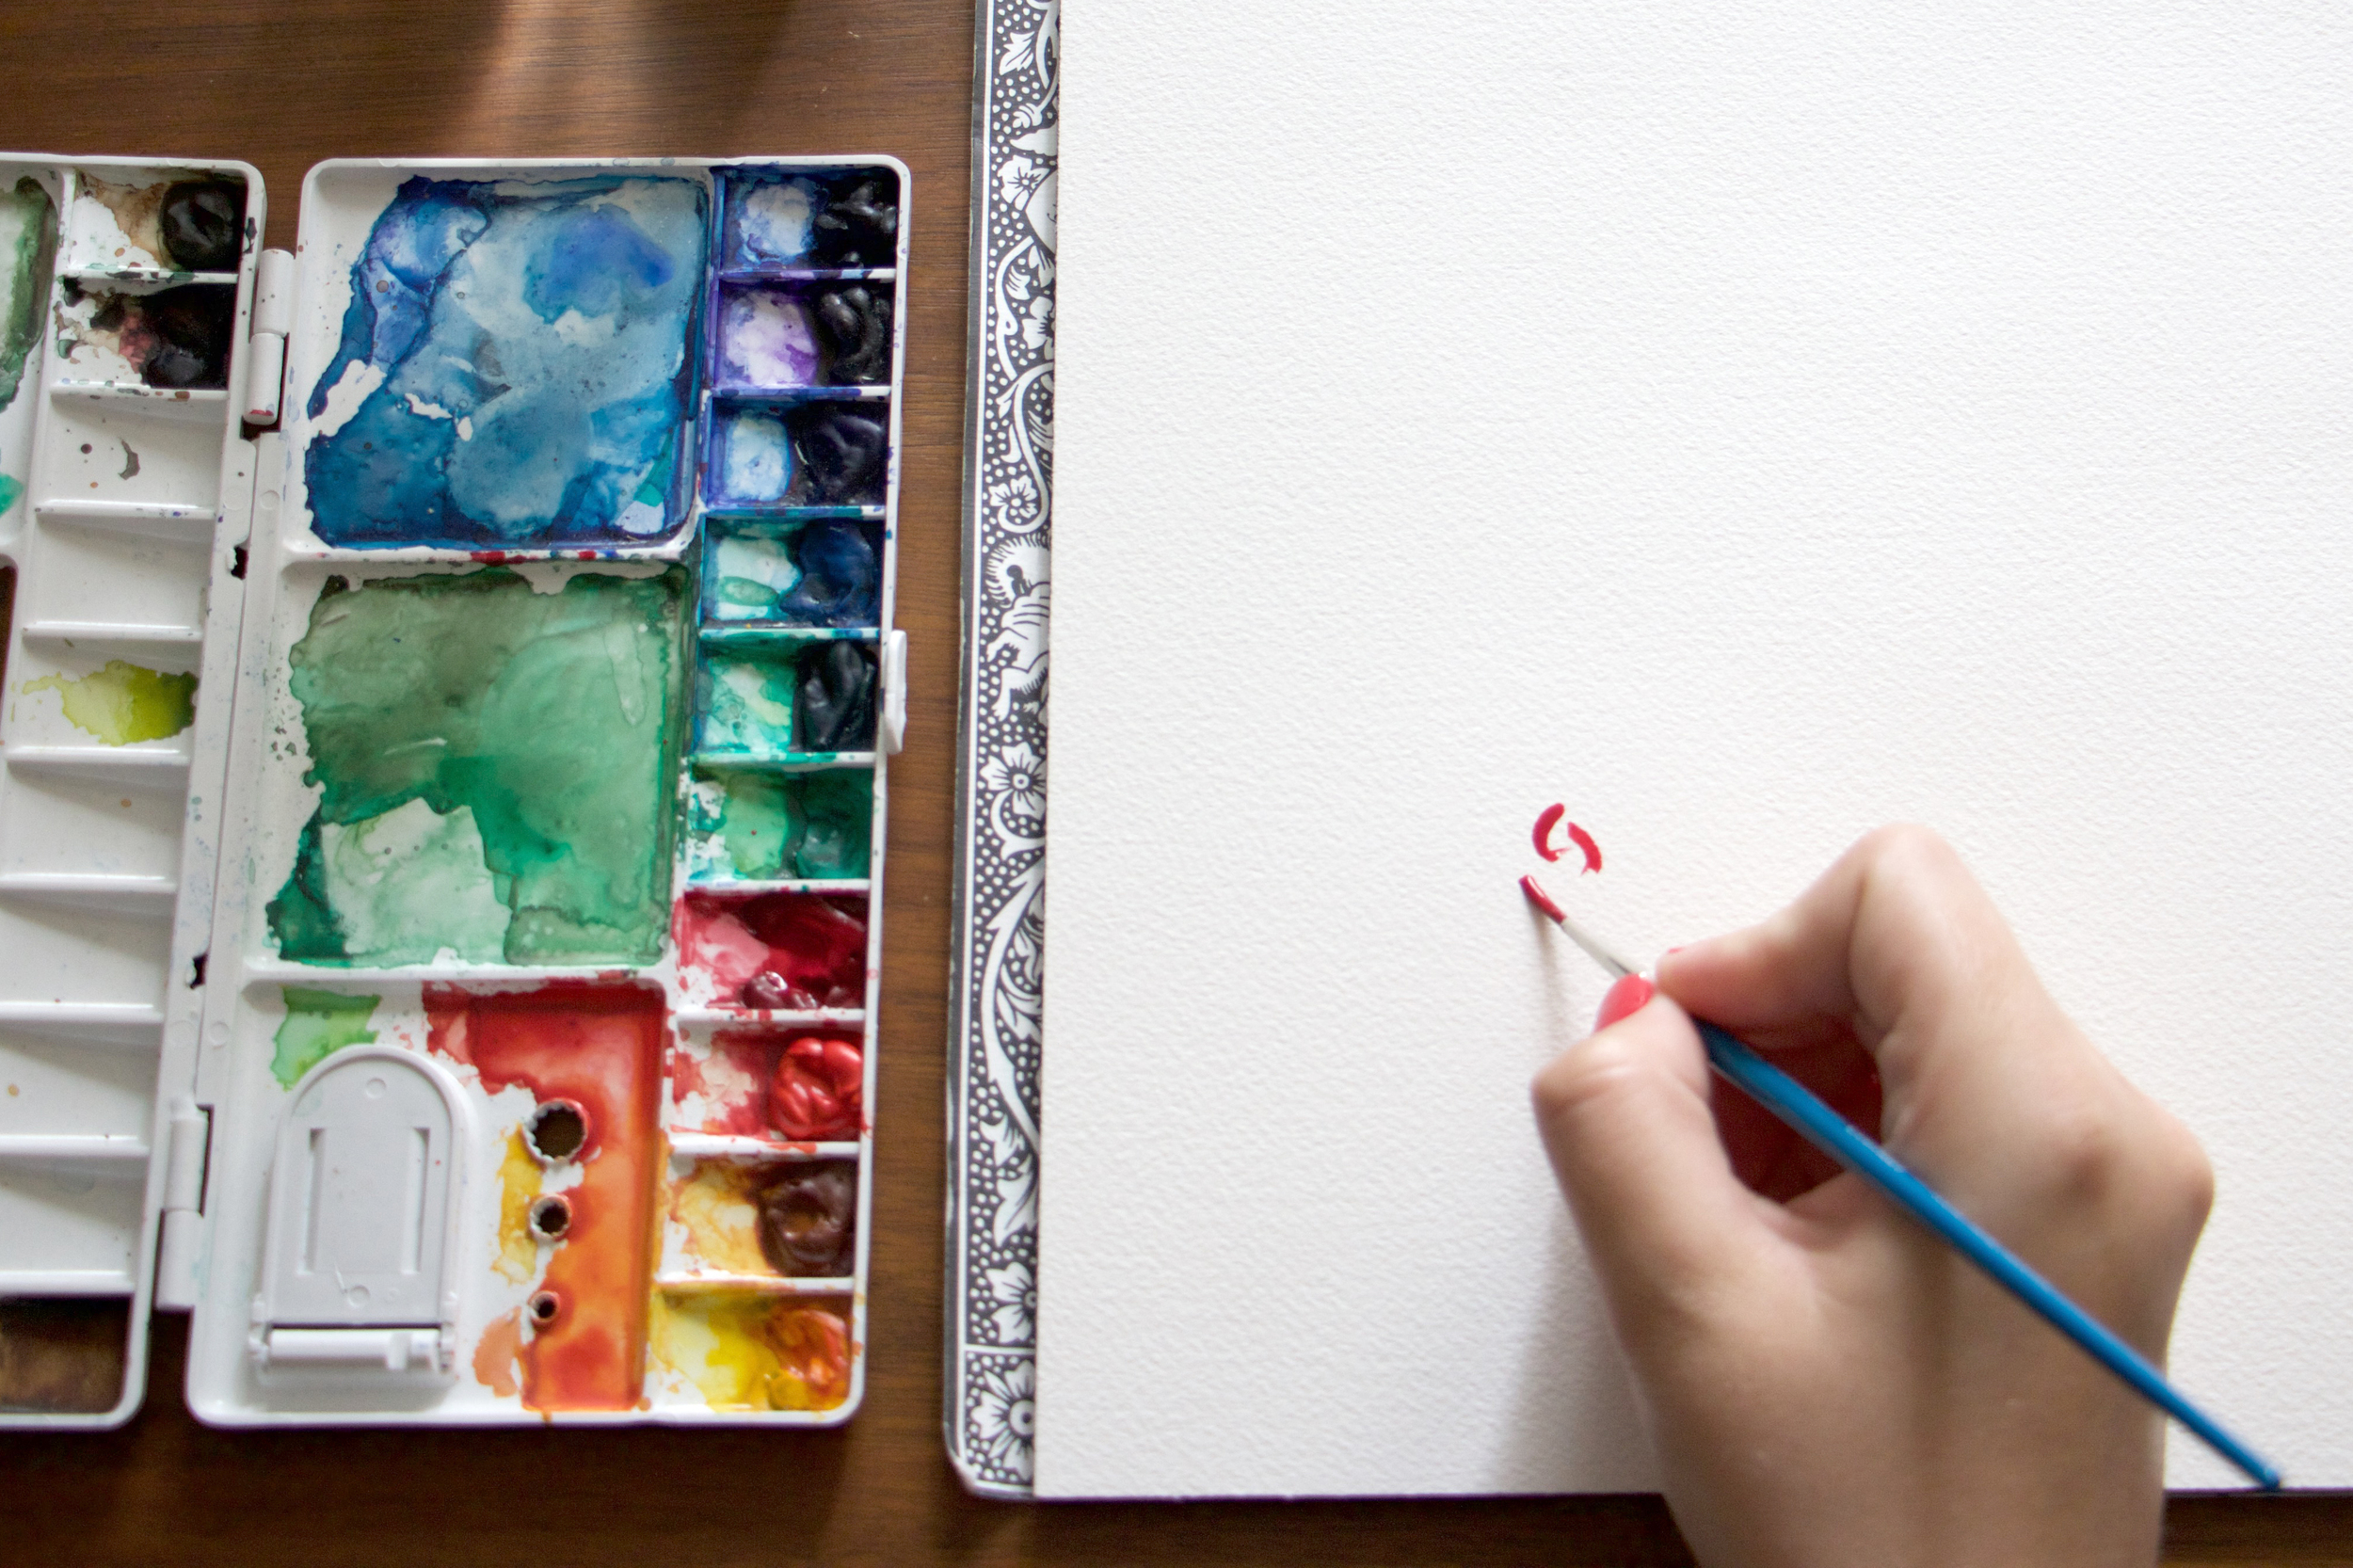
We're ready to start! We're going to build the flower in layers from the center out so, to begin, place a few small strokes of red on the page. I'm using the Cotman Alizarin Crimson color and a Cotman size 2 round brush here. You want the color to be as intense as possible so your brush should have a lot of pigment and only a little water on it.
Next, take a larger brush (I'm using a Cotman 8 round) and dip it in water and lightly dab it on the side of your water cup to keep as much water in the brush as you can. Then, place the brush just next to the red strokes on the page and press down to fan the brush and pull the water and color around to define the outside petals of the flower. This bottom layer will be the lightest so there will be more water on the page than color at this point. The goal is to diffuse the color so it fills in where you placed the water with your brush. The color will bleed wherever you place the water so just make sure your brush touches the color and the red will automatically travel. You want to do this step before the color you just placed on the page dries so you can pull the color with your brush. If the color dries, no worries! Just repeat the first step and paint over the strokes you already have on the page.
Repeat this step a few times until you like the general size and composition of the base of the flower. Let this layer dry completely.
Once the layer is dry (give it 10 minutes for smaller flowers, more for larger roses) repeat the above step, making the size of this layer smaller than the first, so it looks like another layer of petals. Let dry and repeat this process until you get a nice, full rose. I usually paint 3 or 4 layers for my roses.
This is my third and final layer. It's almost done!
The last step is basically a repeat of the very beginning. The center of a rose is usually the most dense in color and petal placement so take a fully loaded brush (aka: lots of pigment with a little water) and paint a few small, round strokes in the middle to be the center of the rose. Let dry and you're done! Congrats!
How did it go? You're a rockstar so I bet the rose turned out beautifully. If you have any questions shoot me an email at paperbyjlee@gmail.com.
Have fun watercoloring!
Jennifer


