Custom stationery designs are some of my favorite orders to work on. I recently created a custom watercolor stationery set based on a photo of a beloved family vacation spot. What started as a photograph eventually became a lovely set of greeting cards with a personal touch. Today, I'll describe the steps I take to create custom stationery.
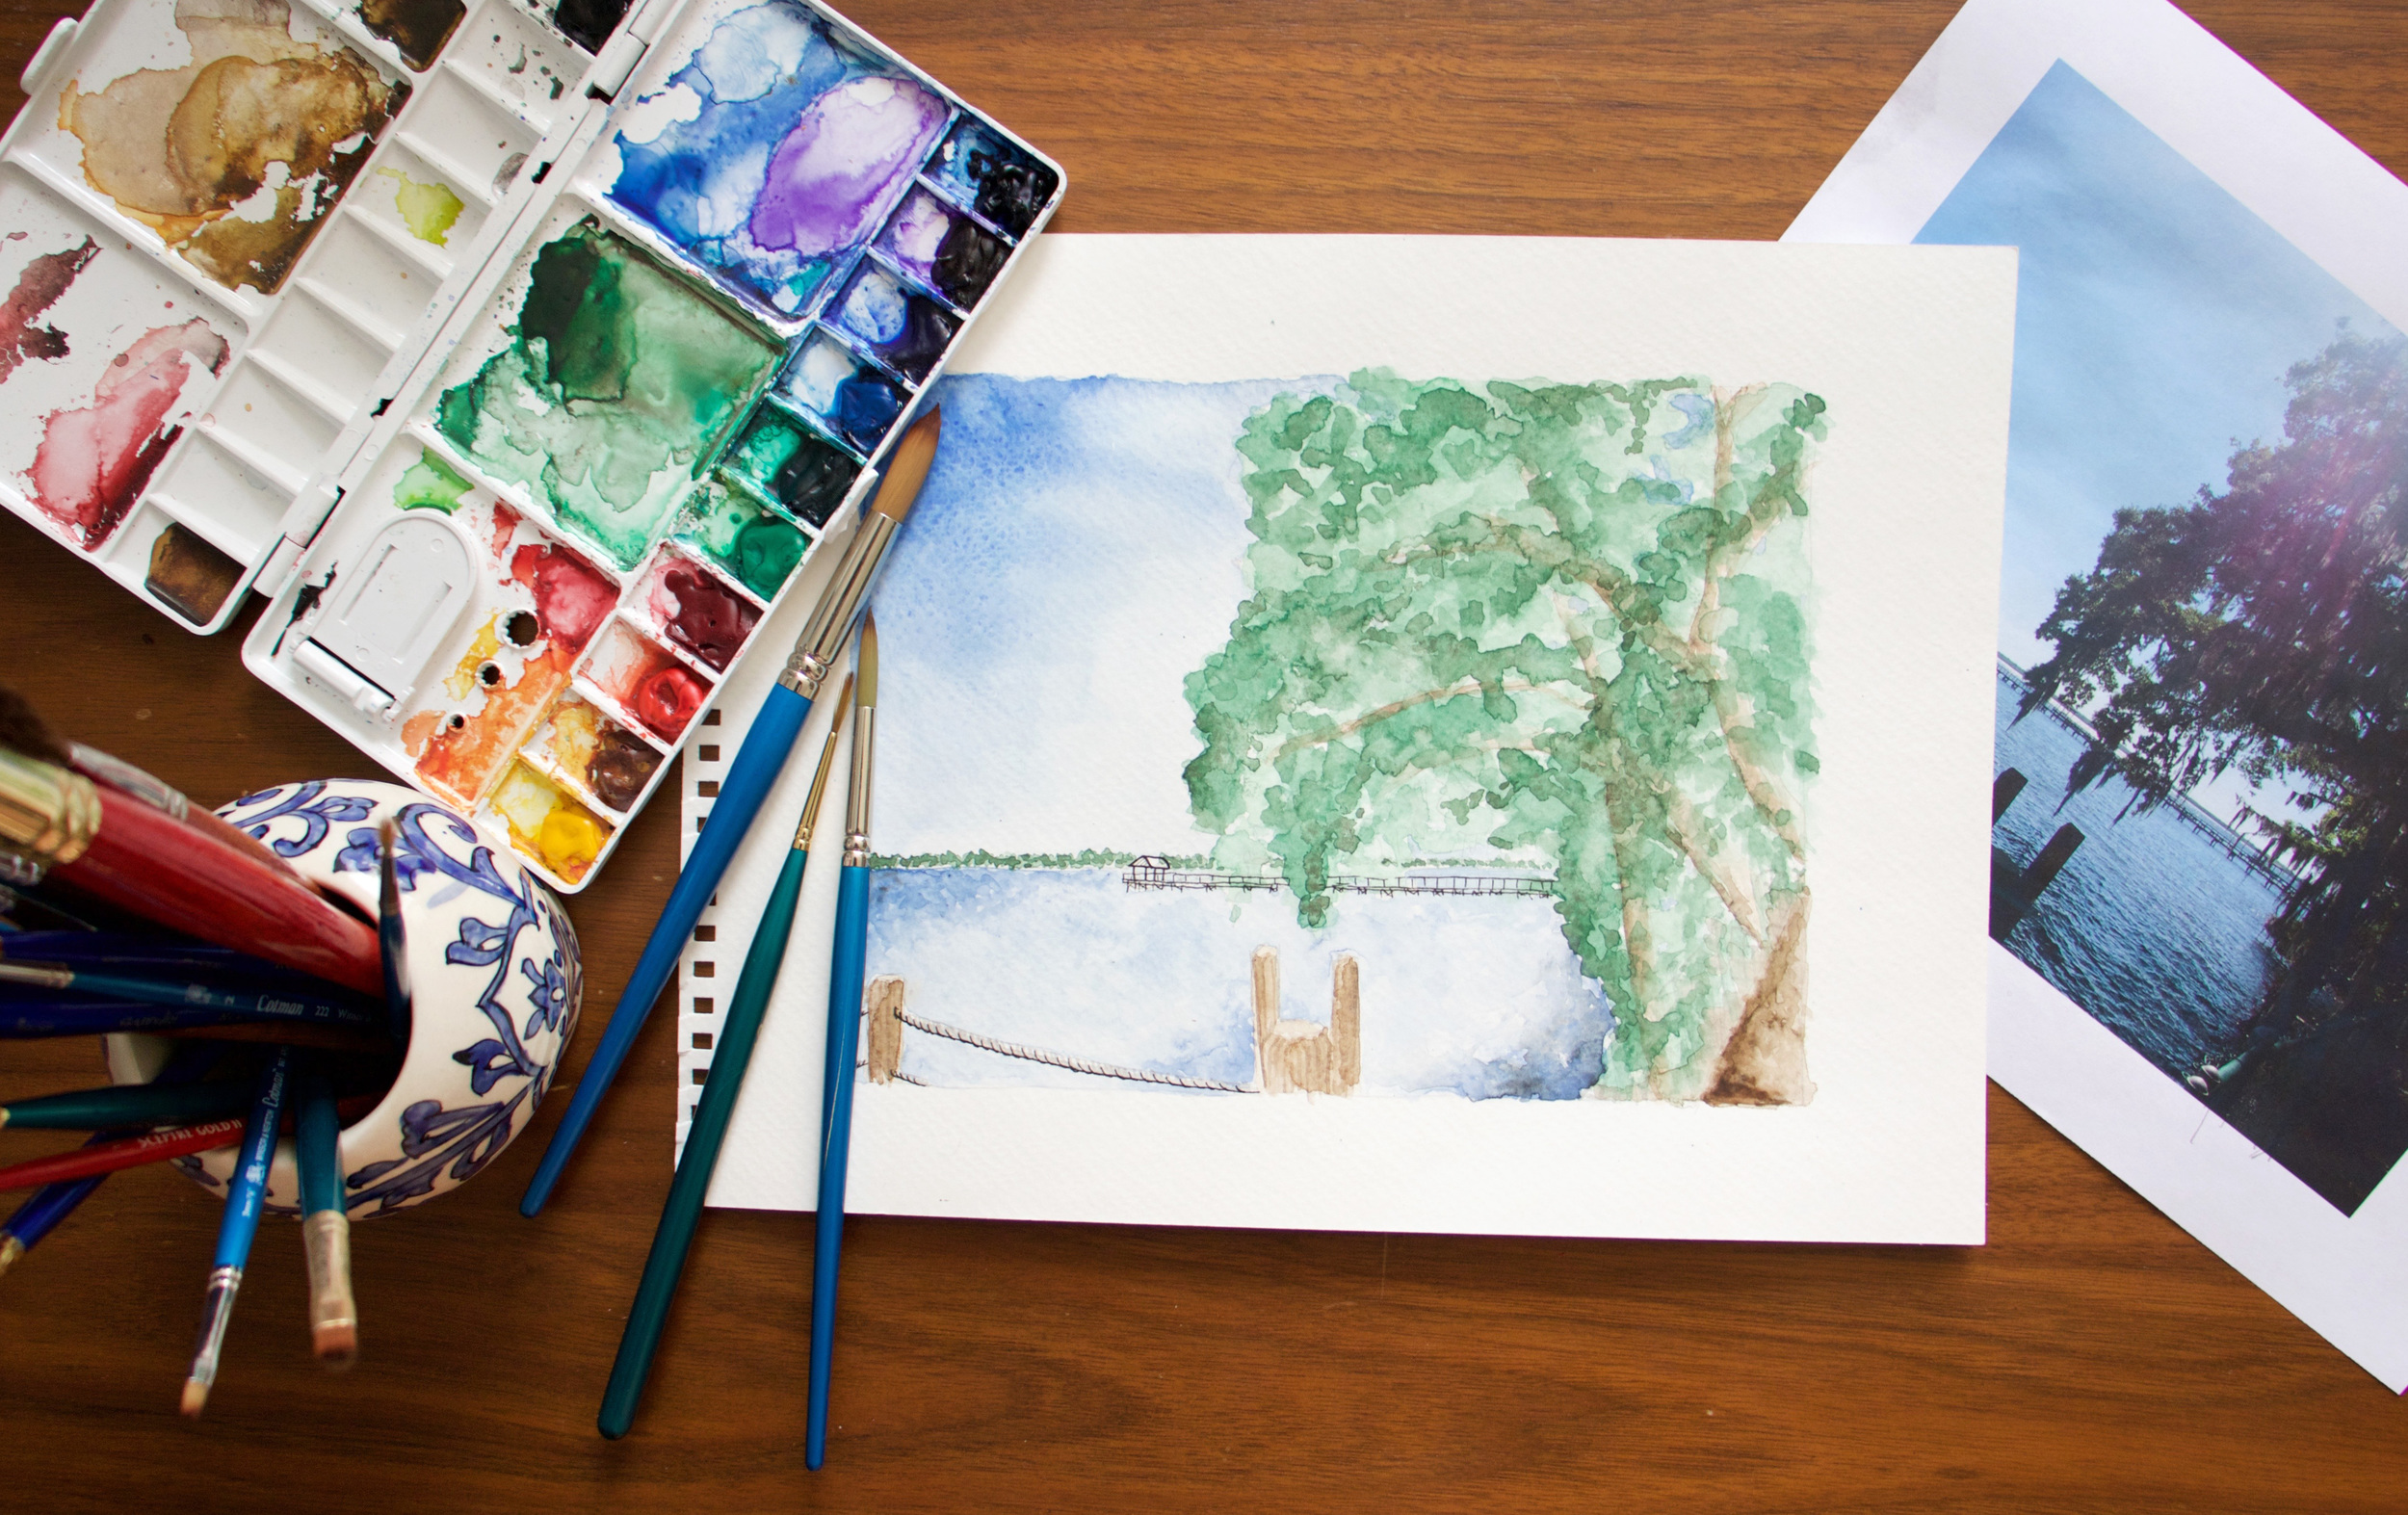
For this order, everything began with a photograph. The customer sent me a great photo to base my painting on, but also gave me the freedom to alter the composition as I needed. I printed the photo and traced a faint outline of the major items (horizon line, dock, major tree branches etc) on cold press watercolor paper using my Artograph light pad.
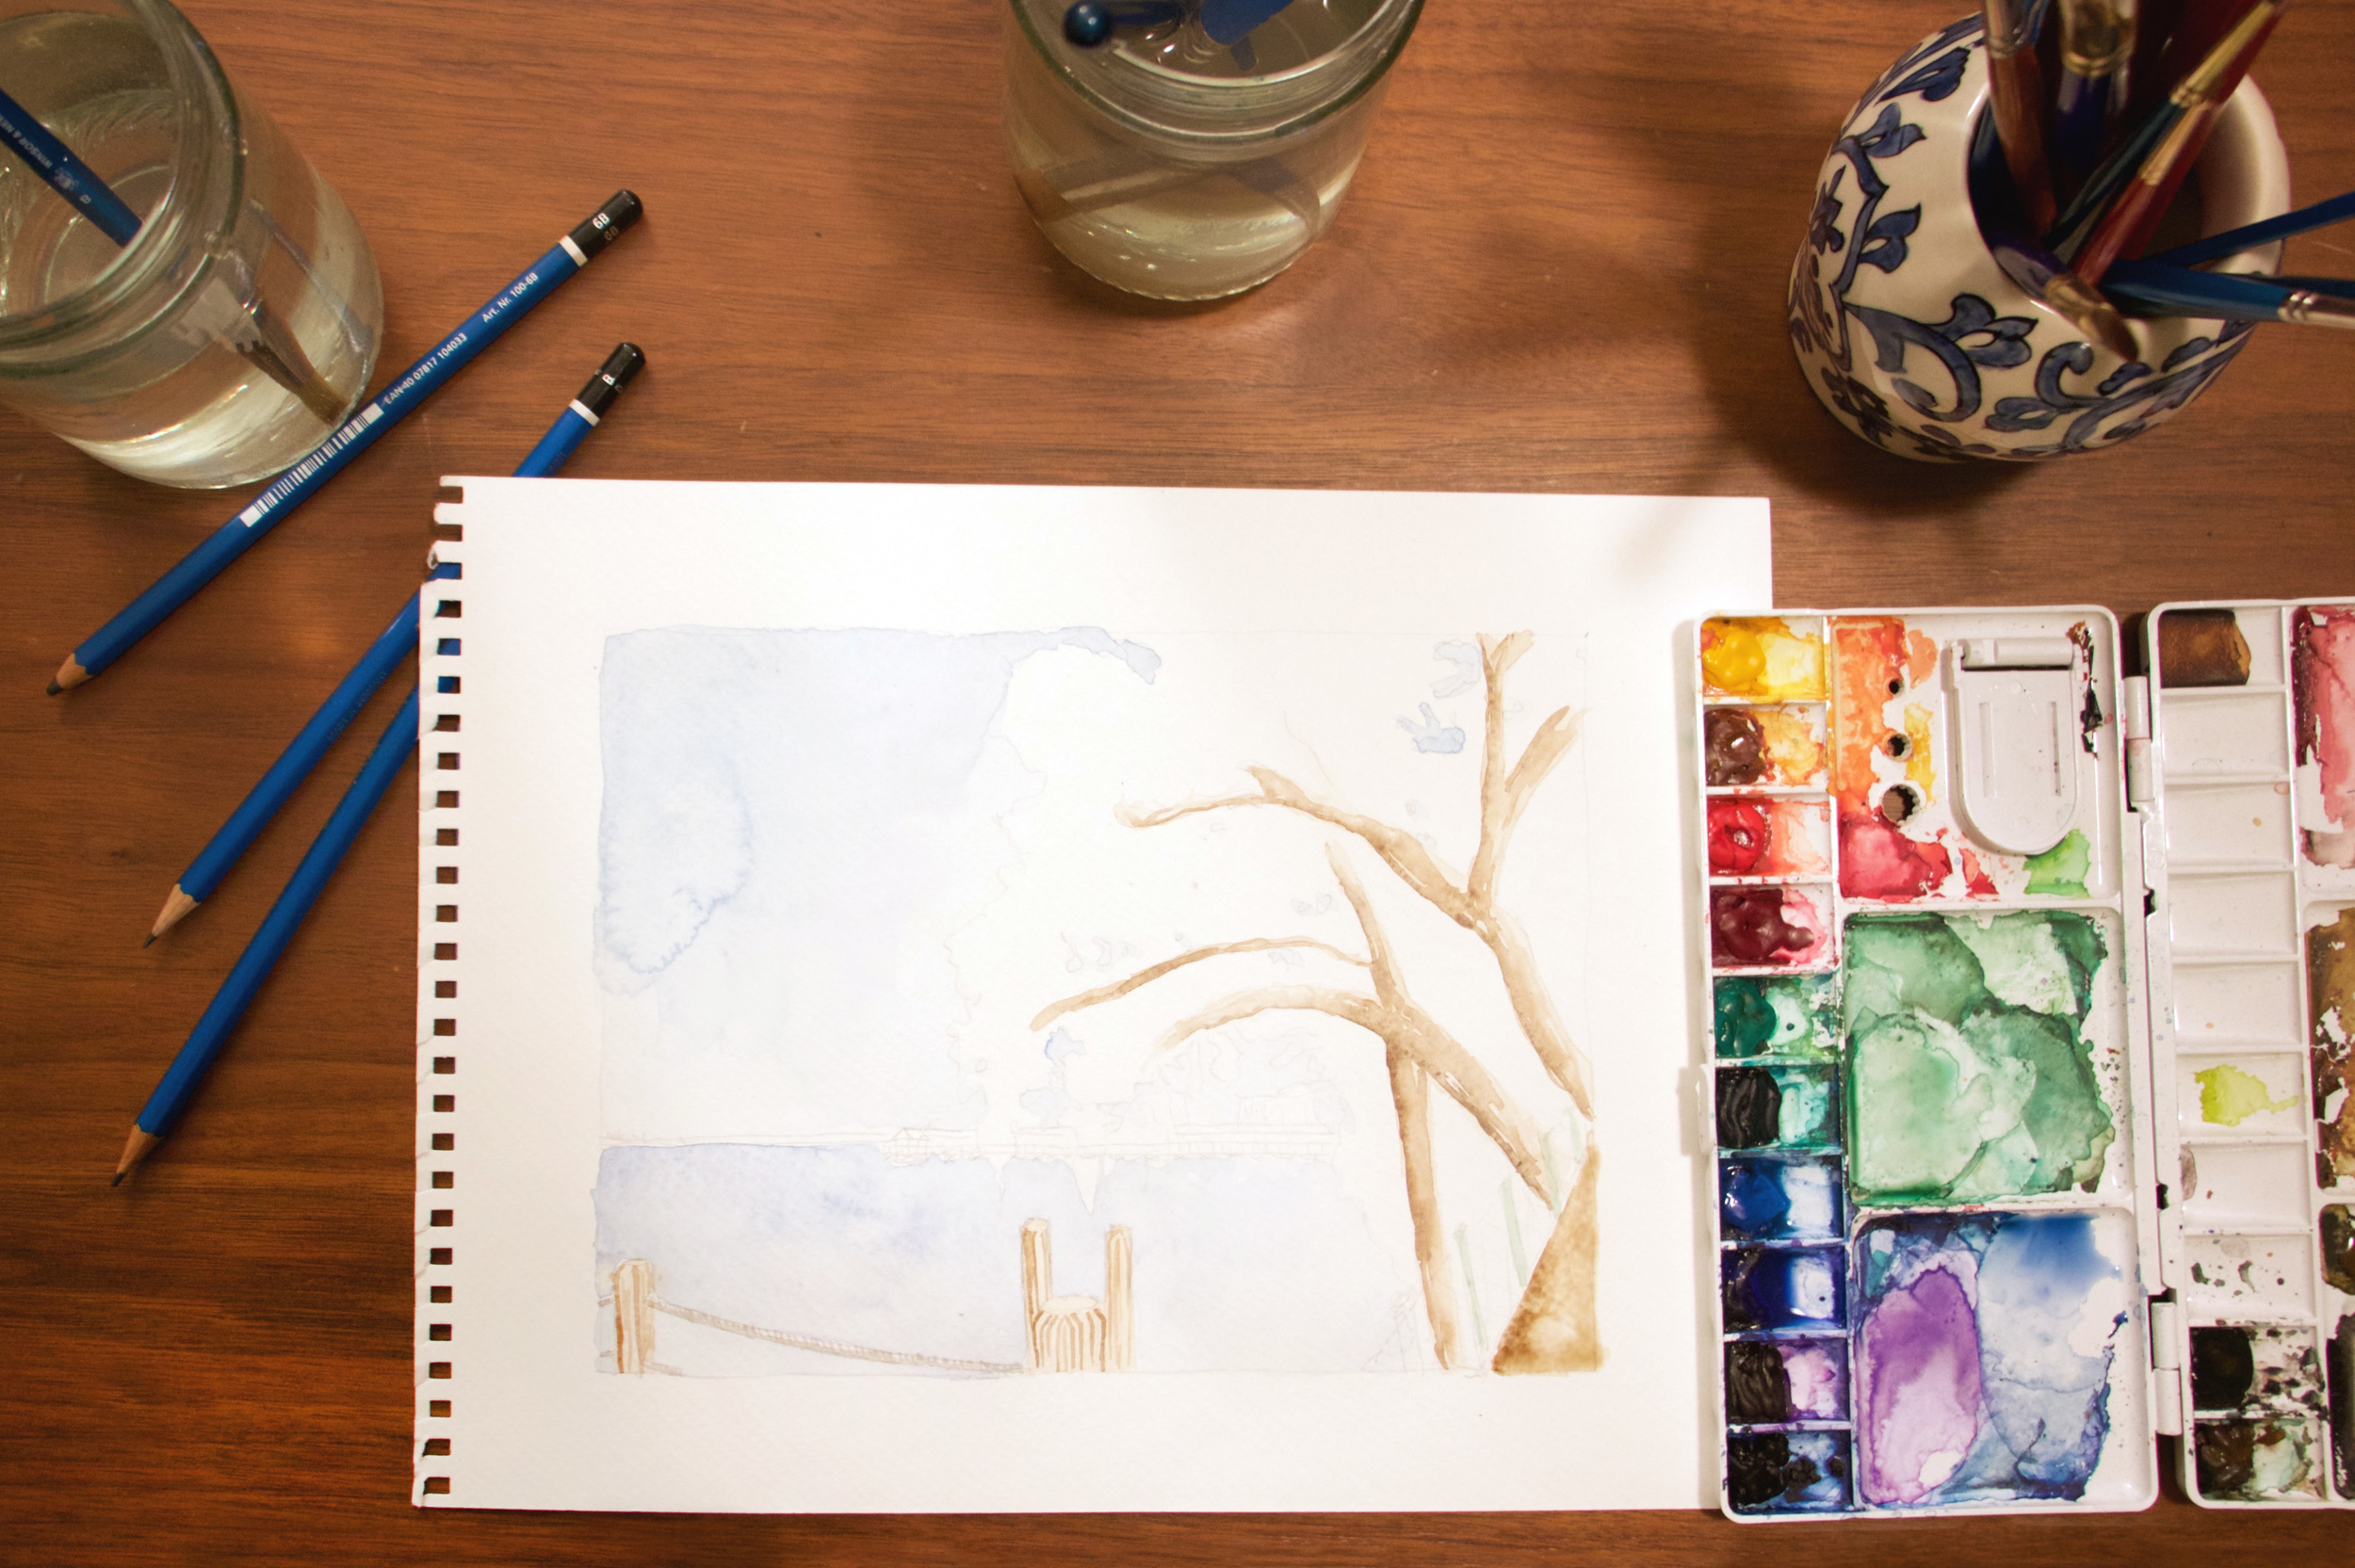
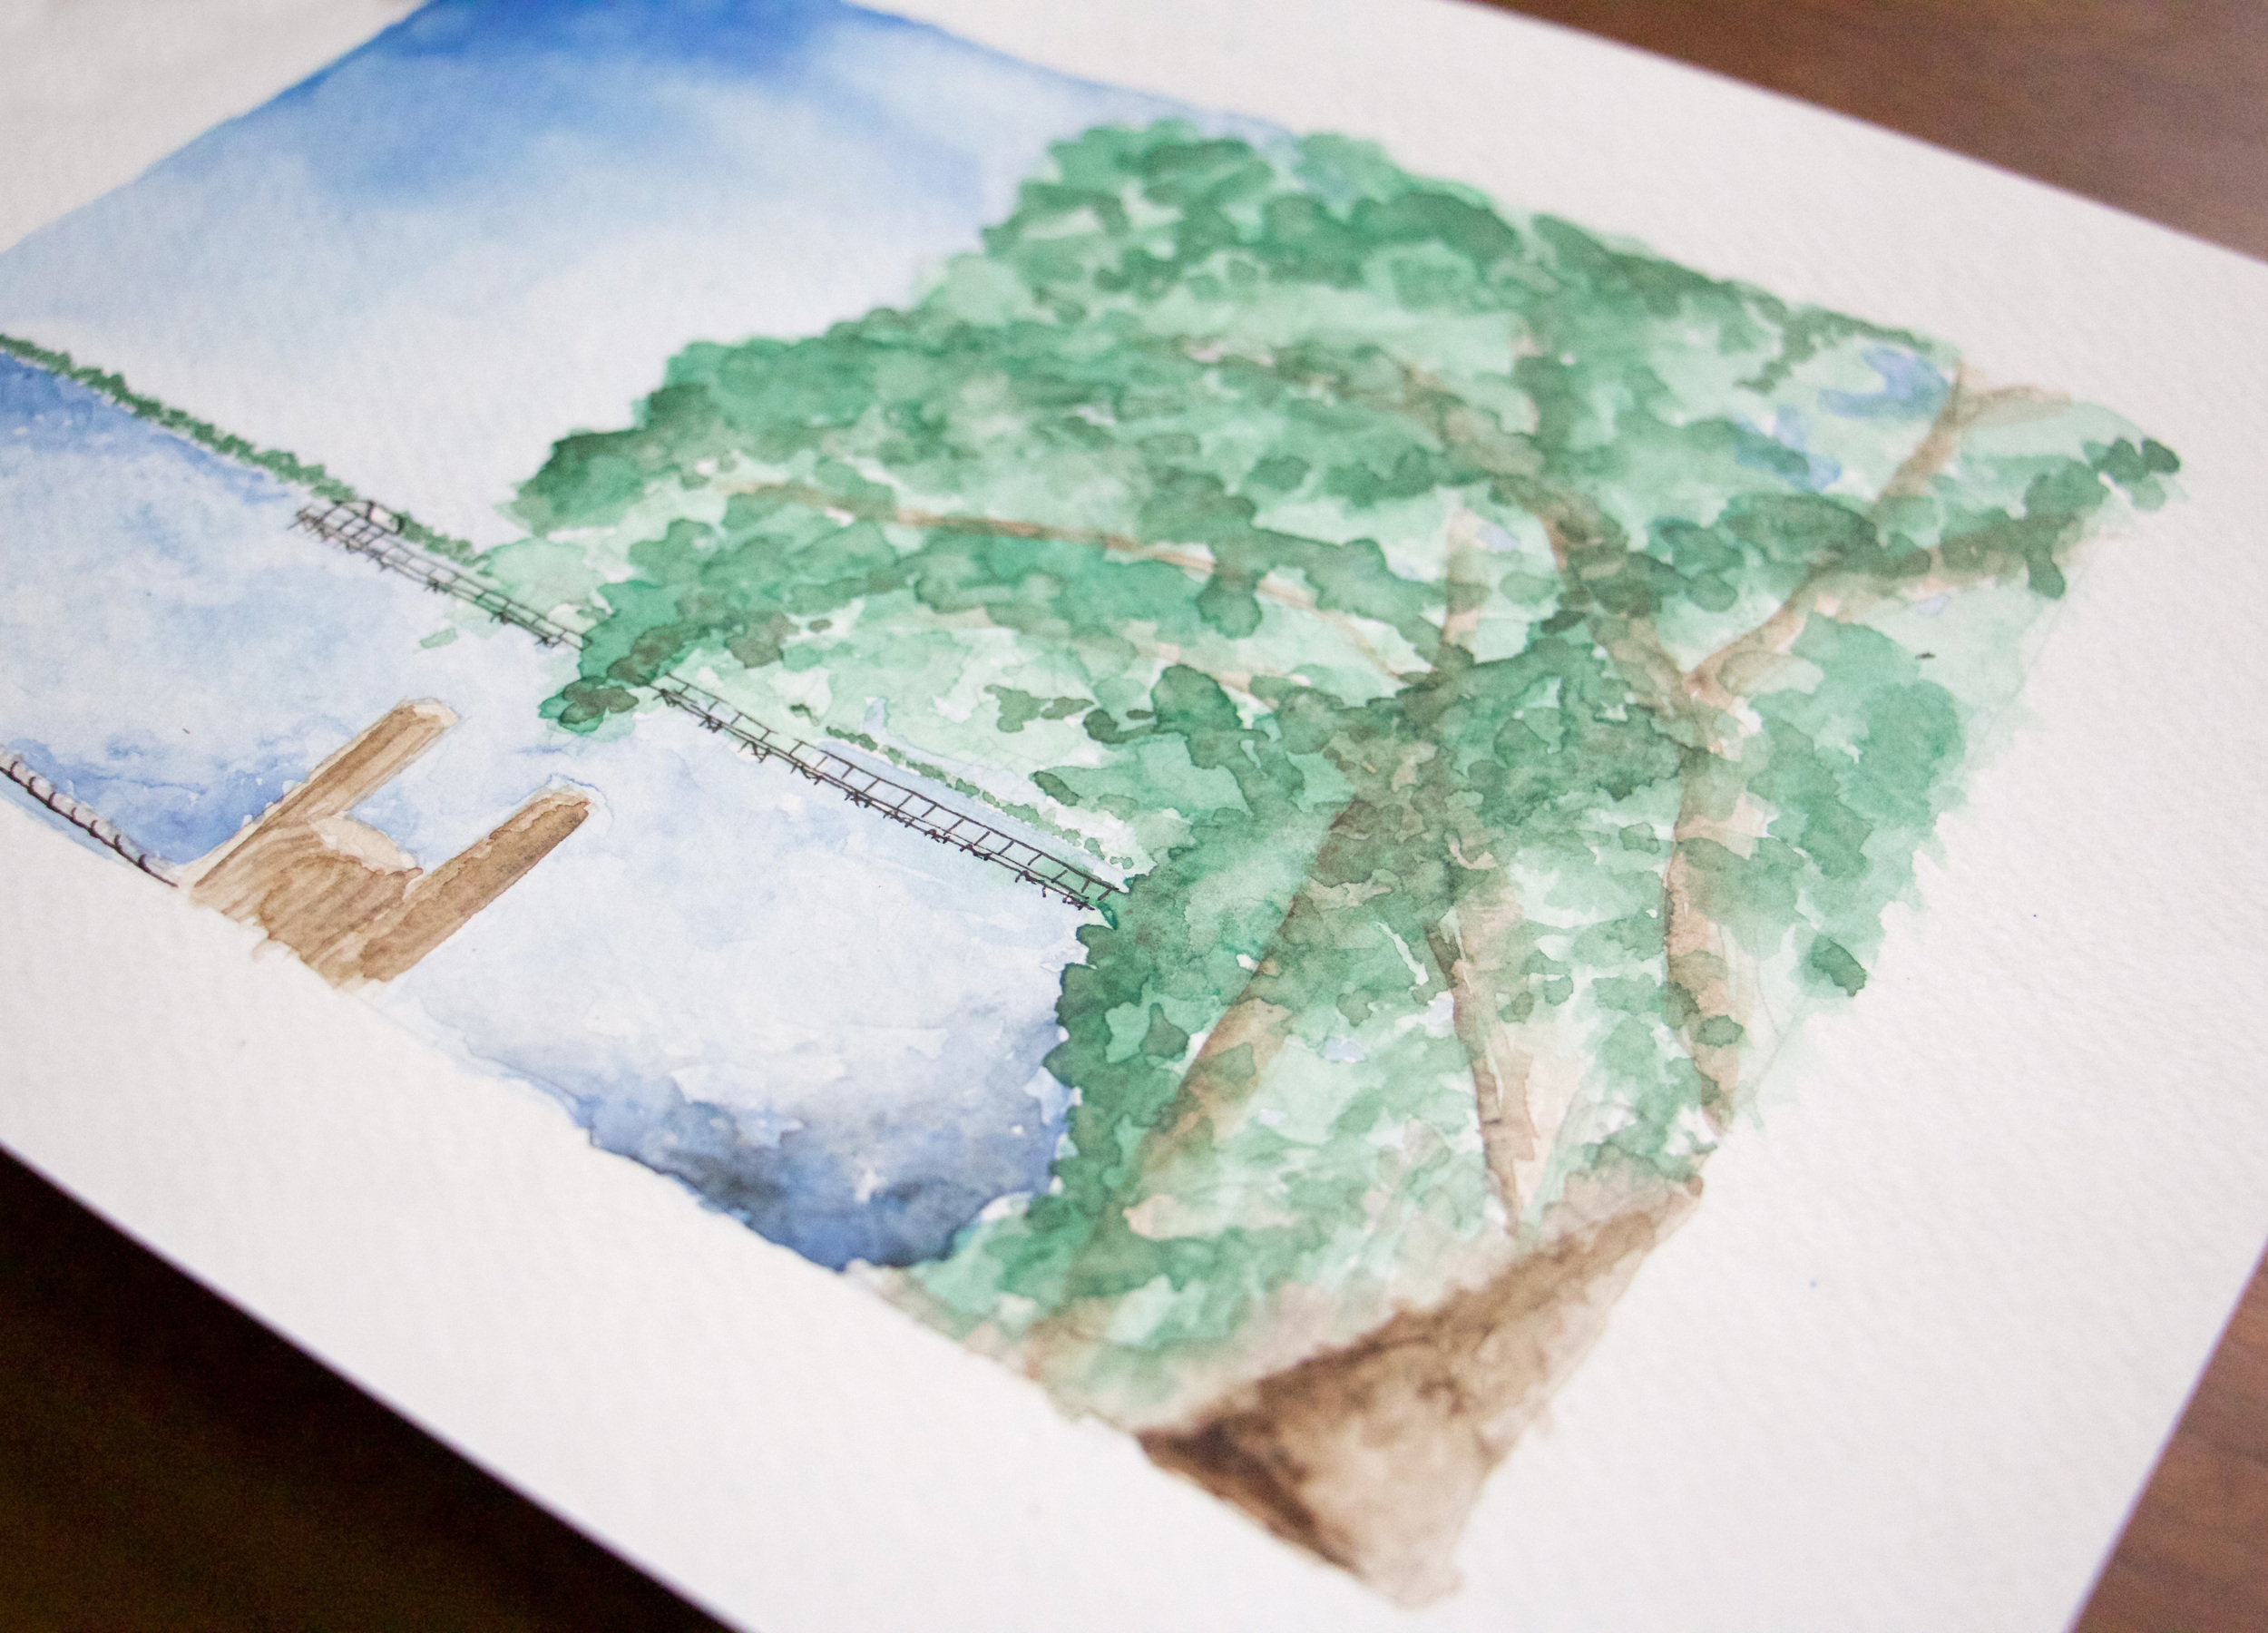
Then, I started painting! To begin, I painted the lightest items which meant the sky, lake and branches. I waited for this layer to dry then kept adding color to create depth and interest. The darkest items, in this case the leaves, were the last things I painted because I wanted them as bold as possible. Painting them last ensures they are the darkest without any layers on top to obscure the color.
You can see some progress photos below.


After the painting was completely dry, I scanned the image into my computer at a high resolution (1,000 dpi) and used Photoshop to resize the scanned image to fit the stationery size. In this case, we used a 4.25"x5.5" folded card. Once the digital file is ready I send a low resolution draft to the client for approval. After it's approved I start printing on my laserjet printer. You can read more about the printing process here. Then, I package the set and ship it out. Easy as pie.
Take a look at the finished watercolor and stationery below!


Have an idea for your own set of custom stationery? Email me at paperbyjlee@gmail.com to get started!
